Androidアプリ開発におけるTweenアニメーション:Androidアプリケーション開発者のためのTips集(13)(2/2 ページ)
» 2012年05月11日 11時00分 公開
[秋本耕平(イーフロー),@IT MONOist]
アニメーションの組み合わせ(1)
前述の通り、アニメーションの組み合わせにはAnimationSetクラスを使用する。これもそれほど難しい話ではないので早速サンプルを示す。
例:透過と移動のアニメーションを組み合わせる
    // 透過と移動のアニメーションを組み合わせる
    void alphaPlusTransTest(View v){

        // 透過アニメーション(3秒)
        AlphaAnimation alpha = new AlphaAnimation( 0.0f, 1.0f );
        alpha.setDuration( 3000 );

        // 移動アニメーション(2秒)
        TranslateAnimation trans = new TranslateAnimation(
                Animation.RELATIVE_TO_SELF, 2,
                Animation.RELATIVE_TO_SELF, 0,
                Animation.RELATIVE_TO_SELF, 0,
                Animation.RELATIVE_TO_SELF, 0);
        trans.setDuration( 2000 );

        // アニメーションの組み合わせ
        AnimationSet set = new AnimationSet( false );
        set.addAnimation( alpha );
        set.addAnimation( trans );

        // アニメーション終了時の表示状態を維持する
        set.setFillEnabled(true);
        set.setFillAfter  (true);

        // アニメーションを開始
        v.startAnimation( set );
    }
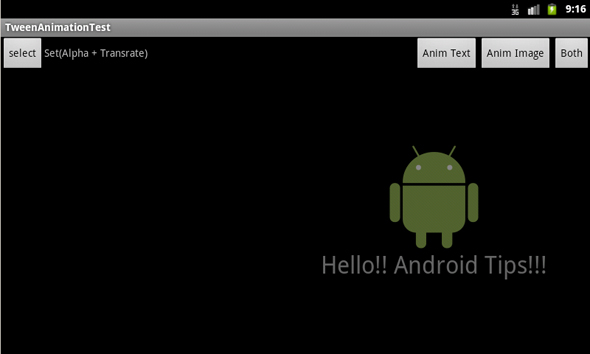
setFillEnabled()とsetFillAfter()は、AnimationSetクラスについてのみ呼び出せばよい。これを実行してみると、ビューが画面右側からじわりと浮かび上がりながら現れる。
アニメーションの組み合わせ(2)
アニメーションには、アニメーション開始までの待ち時間もミリ秒単位で設定できる。これを使用すると、アニメーションを順番に実行するような組み合わせも可能だ。
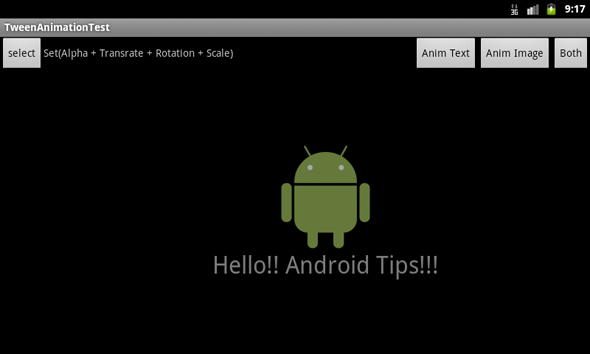
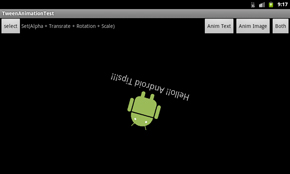
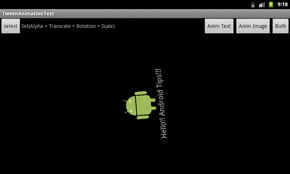
回転・拡縮アニメーションの例をかねて、以下のようなサンプルを作成してみた。
例:画面右側からじわりと浮かび上がりつつ画面中央に移動し、回転しながら縮小して消えるアニメーション
    // 透過と移動のアニメーションを組み合わせる
    void timeLagAnimationTest(View v){

        // 透過アニメーション(3秒)
        AlphaAnimation alpha = new AlphaAnimation( 0.0f, 1.0f );
        alpha.setDuration( 3000 );

        // 移動アニメーション(2秒)
        TranslateAnimation trans = new TranslateAnimation(
                Animation.RELATIVE_TO_SELF, 2,
                Animation.RELATIVE_TO_SELF, 0,
                Animation.RELATIVE_TO_SELF, 0,
                Animation.RELATIVE_TO_SELF, 0);
        trans.setDuration( 2000 );

        // 回転アニメーション
        RotateAnimation rotate = new RotateAnimation(
                // 0度から720度まで変化(2回転)
                0, 720f,
                // 回転の中心位置は、ビューの中央
                Animation.RELATIVE_TO_SELF, 0.5f,
                Animation.RELATIVE_TO_SELF, 0.5f);

        // アニメーション開始3秒後から、1秒かけてアニメーション
        rotate.setStartOffset( 3000 );
        rotate.setDuration( 4000 );

        // 縮小アニメーション
        ScaleAnimation scale = new ScaleAnimation(
                // 幅も高さも、1倍から0倍まで変化
                1f, 0f,
                1f, 0f,

                // 拡縮の中心は、ビューの中央
                Animation.RELATIVE_TO_SELF, 0.5f,
                Animation.RELATIVE_TO_SELF, 0.5f );

        // アニメーション開始3秒後から、1秒かけてアニメーション
        scale.setStartOffset( 3000 );
        scale.setDuration( 4000 );


        // アニメーションの組み合わせ
        AnimationSet set = new AnimationSet( false );
        set.addAnimation( alpha );
        set.addAnimation( trans );
        set.addAnimation( rotate );
        set.addAnimation( scale );

        // アニメーション終了時の表示状態を維持する
        set.setFillEnabled(true);
        set.setFillAfter  (true);

        // アニメーションを開始
        v.startAnimation( set );
    }
XMLによるアニメーションの記述
ここまで見てきたようなアニメーションは、リソースとしてXMLで記述できる。「res」ディレクトリ以下に「anim」ディレクトリを作成して、その中にアニメーションを記述したXMLを配置する。
例として、1つ前のサンプル(例:透過と移動のアニメーションを組み合わせる)をXMLで記述したものを示す。
例:透過と移動のアニメーションを組み合わせる(sample_anim.xml)
    <?xml version="1.0" encoding="utf-8"?>
    <set xmlns:android="http://schemas.android.com/apk/res/android"
        android:shareInterpolator="false"
        android:fillEnabled="true"
        android:fillAfter="true">

        <!-- 透過アニメーション -->
        <alpha
            android:fromAlpha="0"
            android:toAlpha="1"
            android:duration="3000" />

        <!-- 移動アニメーション -->
        <translate
            android:fromXDelta="200%"
            android:toXDelta="0%"
            android:fromYDelta="0%"
            android:toYDelta="0%"
            android:duration="2000" />

        <!-- 回転アニメーション -->
        <rotate
            android:fromDegrees="0"
            android:toDegrees="720"
            android:pivotX="50%"
            android:pivotY="50%"
            android:startOffset="3000"
            android:duration="5000"/>

        <!-- 拡縮アニメーション -->
        <scale
            android:fromXScale="1"
            android:toXScale="0"
            android:fromYScale="1"
            android:toYScale="0"
            android:pivotX="50%"
            android:pivotY="50%"
            android:startOffset="3000"
            android:duration="5000"/>
    </set>
リソースとして作成したアニメーションを読み込むには、AnimationUtilsクラスを使用して、以下のように記述する。
例:XMLリソースからのアニメーション読み込み
    // XMLリソースからのアニメーション読み込み
    void resourceAnimationTest(Context con, View v){
        // リソースからのアニメーション読み込み
        Animation anim = AnimationUtils.loadAnimation( con, R.anim.sample_anim );

        // アニメーション開始
        v.startAnimation(anim);
    }
なお、今回紹介したサンプルプログラムはココから(TweenAnimationTest.zip)ダウンロード可能だ。実際に動いている様子などを確認したい方は、このサンプルプログラムを手元の端末などにインストールして動かしてみてほしい。
≫連載「Androidアプリケーション開発者のためのTips集」の目次
関連記事
Copyright © ITmedia, Inc. All Rights Reserved.
Special ContentsPR
特別協賛PR
スポンサーからのお知らせPR
Special ContentsPR
Pickup ContentsPR
組み込み開発の記事ランキング
- 月面を照らす「光の物差し」 JAXAとカシオが可視光測位技術を実証
- 生成AI実行時の消費電力が10W以下に SiMa.aiのSoC「Modalix」の実証結果を公開
- いまさら聞けないエッジAIとクラウドAIの違い “現場処理回帰”の必然性とは
- フォックスコンがフィジカルAIで実現する「AX」とは、NVIDIAと川崎重工も講演
- 1μF以下の極小コンデンサーでも安定動作する500mA対応LDOレギュレーター
- 衛星通信向け量子鍵配送送受信システムの小型化と高速化に成功
- 時代はDXからAIが当たり前に浸透する「IX」に突入へ CES 2026の内容をひもとく
- 高速起動とREST APIで高性能なデータ取得を自動化する測定コア
- 愛猫の不調を見逃さない、LIXILが非接触呼吸計測デバイスを開発
- 現場や事務用途で快適に使える防塵防水対応の10.1型タブレットPCを発売
Special SitePR
コーナーリンク
あなたにおすすめの記事PR
 画像5 画面右側から、じわりと浮かび上がりながら出現
 画像6 画面右側からじわりと浮かび上がりつつ……


